
Cut your clothespin to 2" to 2 1/4" for a 54mm figure. I use a miter box and saw as pictured

I also work in batches of 20 + to create full units for GASLIGHT.

These figures are for natives. I am thinking they will be allied natives armed with rifles and with a red rag tied around their head. This image shows them on a cardstock jig to drill arm holes.
1/16" hole will allow the chenille wire for arms. The jig assures that the arm hole is perpendicular to the legs.

These lads will be my Natal Mounted Police. Look closely at the helmet spike!
I am also designing these to mount a horse and dismount onto an infantry stand.
The horse is not fully realized yet so these may end up just being glued to a base.

This is my idea for an infantry stand. The cardstock will be painted and flocked and the figure should squeeze onto the stand and remain.

These are my infantry, cut, drilled, glued to a 1" square. The two styles are going to make artillerists for the Brits. Native rifles. Zulu High command and a bevy of harem babes.
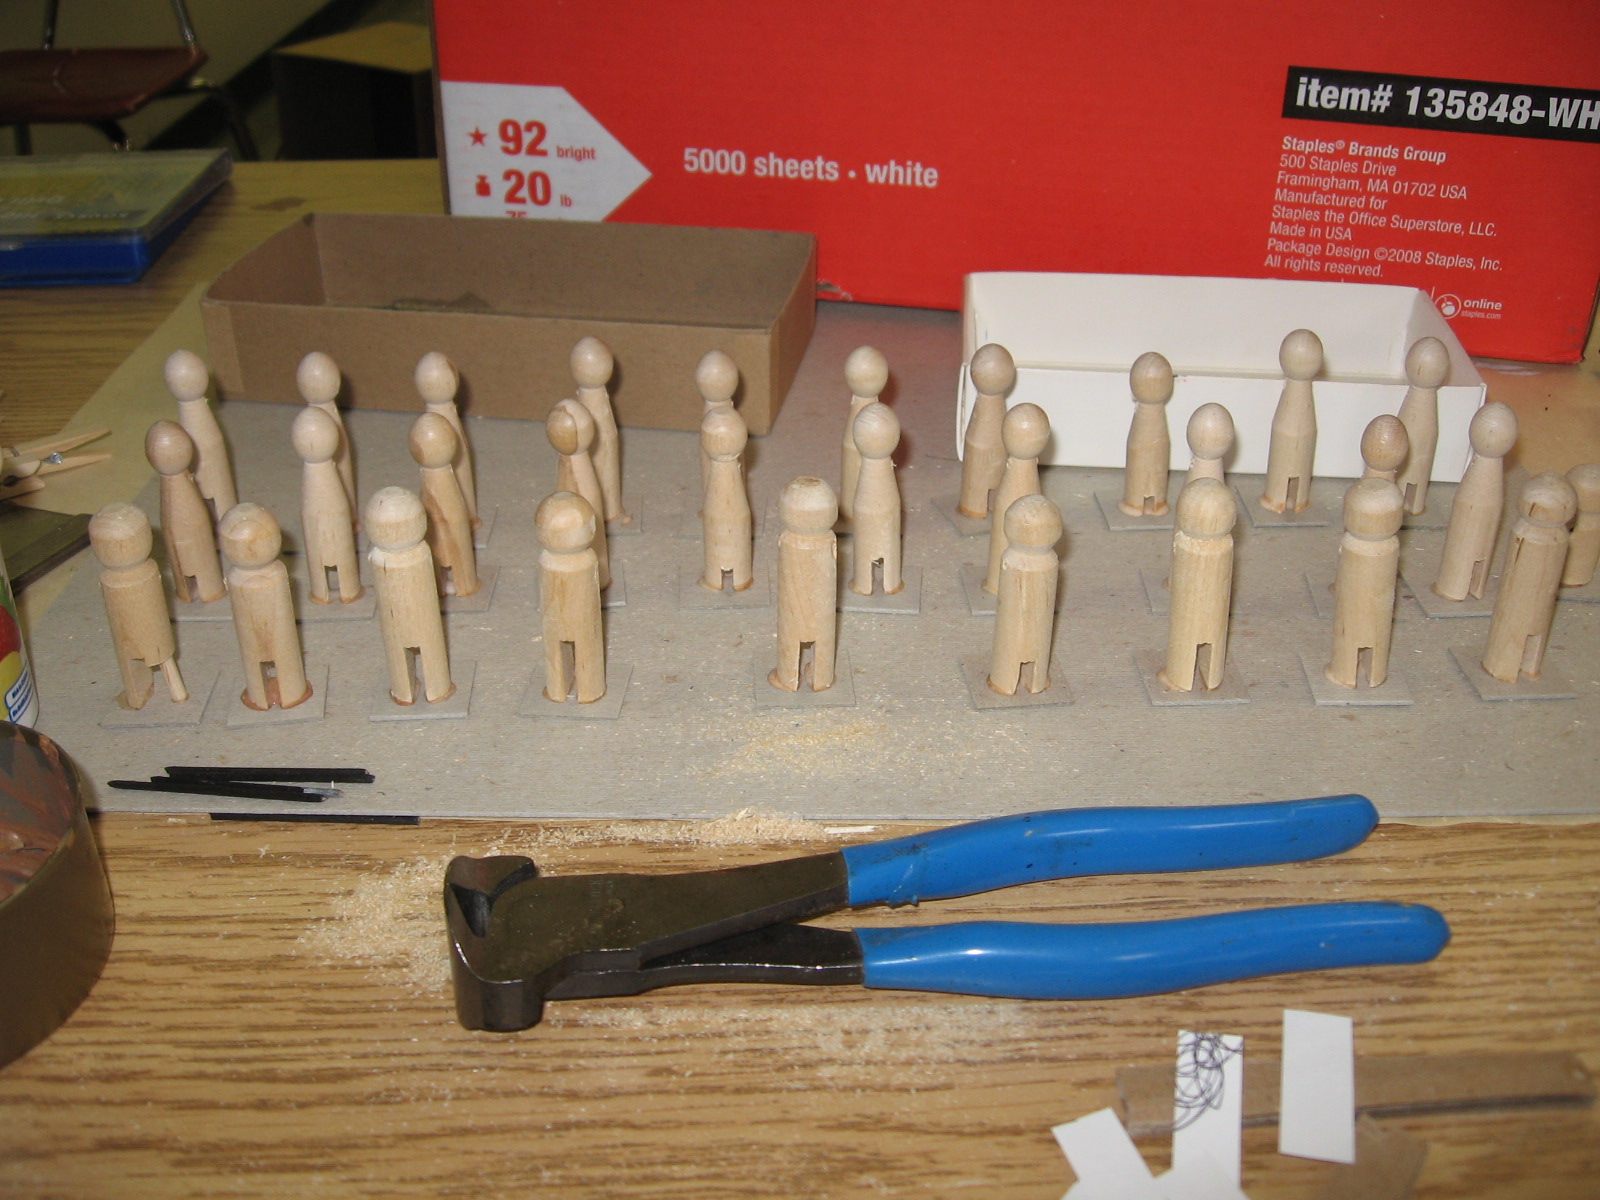
Next chapter will be on spray painting the figures. I use Wal*Mart cheap black and white primer, budget colored spray paint. You can prime these with any suitable figure primer.
They could use a seal of white glue but that would be extraordinary.
I have seen these "old-style" wooden clothespins in quite inexpensive packages in "dollar-type" stores.
ReplyDelete-- Jeff
Great start!
ReplyDeleteAdmirably clever.
ReplyDeleteWhere did you get the tapered clothespins your using for the Zulu?
ReplyDelete