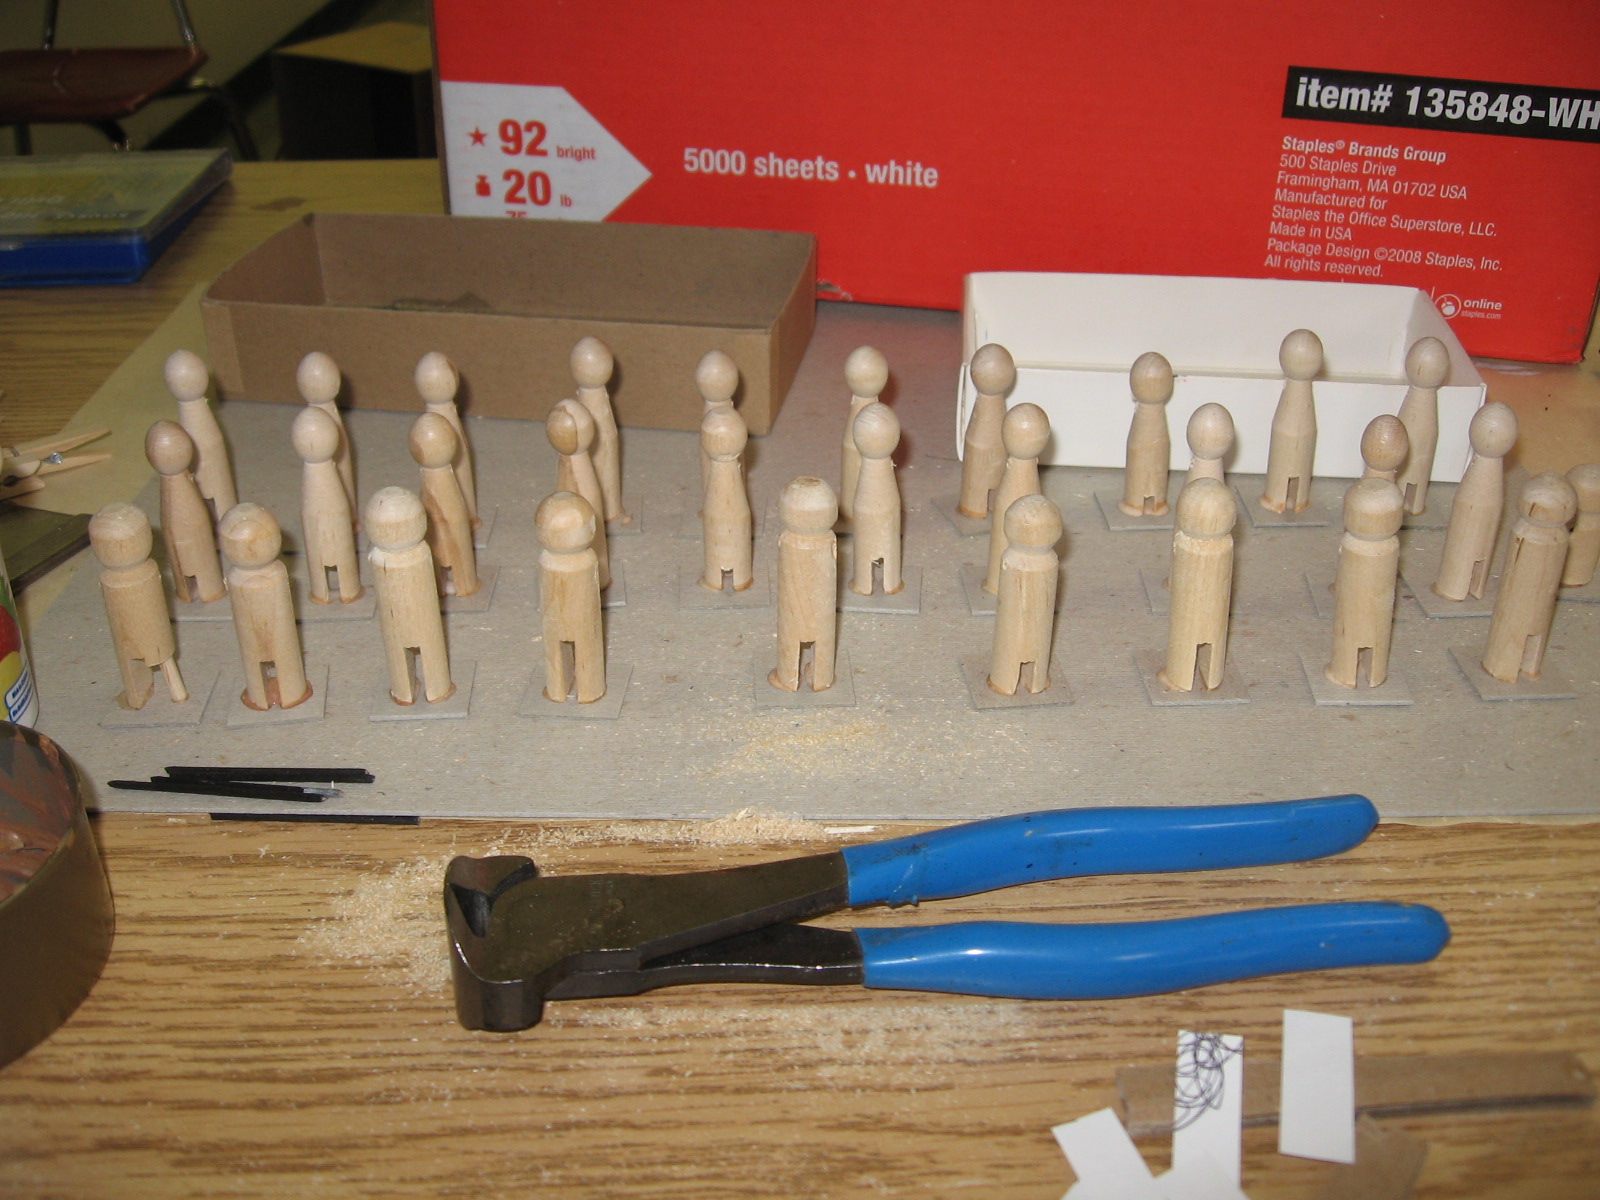
Secondhand Lions gaming on Proserpina 3057.
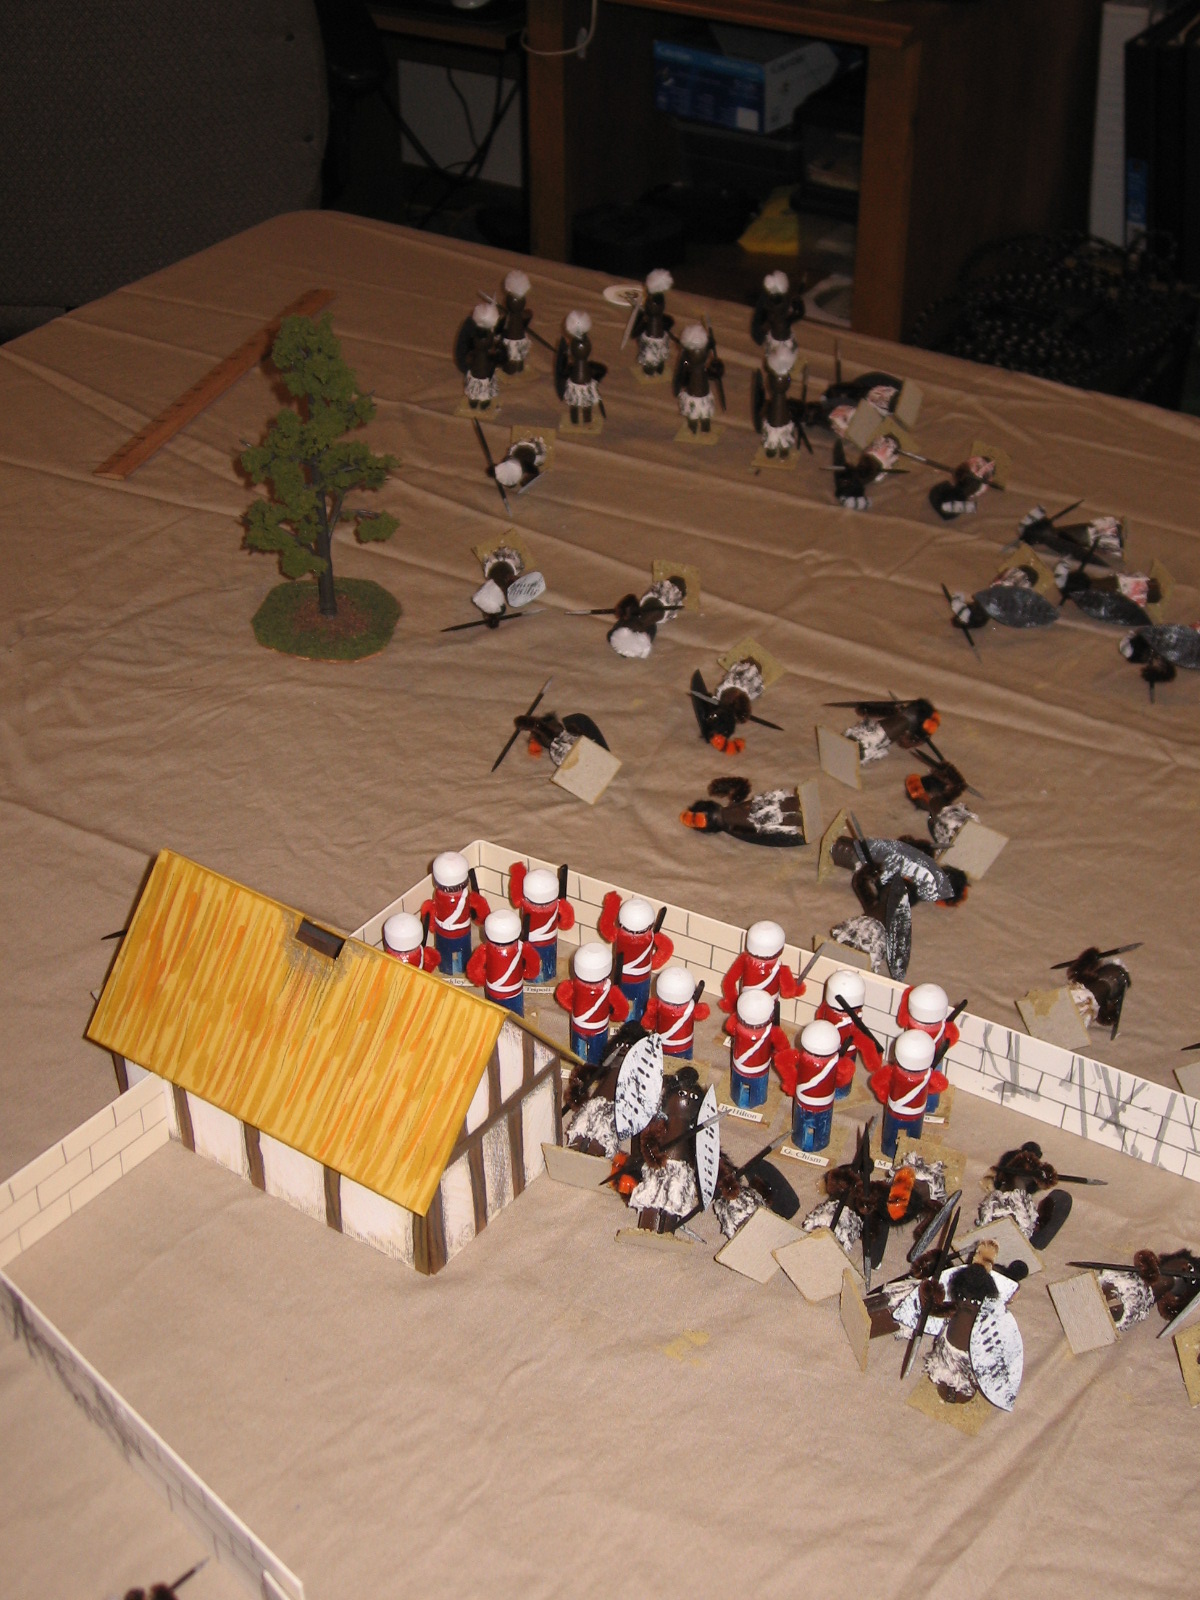
Aerial view of Downtown Pridetown.

Mixed civilian and military traffic. Insurgents make a bold push at the combine military base.

Actual news footage from PRSP NN.
 Clicking images will make you jealous.
And now citizens of the Combine we bring you an after action report by
Kublai Conn
Police Chief of Pridetown Precinct
Draconis Combine Military Constabulary
Intro:
One of my gaming buddies, Kenny, found an alternate set of rules for MechWarrior here on BGG. Info on the variant, called Call To Honor, can be found here: [thread= http://www.boardgamegeek.com/thread/271685/mechwarrior-call-...][/thread]
Kenny has toyed with this variant for the better part of a year or more and has run a couple of games on the world of Proserpina. This time around, however, he had something more in mind...
Setting:
Proserpina is a world ravaged by war. Nuclear fallout, scorched earth policy and various highly contested engagements on the world have led to the creation of several continental 'Dead Zones'.
Fast forward several years. The Draconis Combine rules with an iron fist. Dirt poor people scratch out meager existences by foraging in the 'Dead Zones' and finding lost tech or anything else of value. The populace rails silently against the oppressive Draconis regime. The Highlanders, a collection of like-minded guerillas (terrorists?), aim to throw off the Combine’s yoke and return Proserpina to its original ‘glory’.
Situation:
Draconis
I, the Commander of the local constabulary, have been hearing rumors that there is severe Highlander infiltration in the city. I have a police task force (headed by Carl, a fellow player) consisting of two light wheeled recon, two grav recon vehicles and various powered armor squads. One squad has jump capability. My task, as outlined by Central Command (a la the GM) is to first and foremost keep the peace on the planet and uncover any Highlander cells. My informant tells me that the traffic on the streets is intermixed with Highlander partisans, so my police force is needed to form a blockade and ferret out the malcontents. If I can handle the insurgents with only this task force, then that’s a feather in my cap. If I can’t, then I have more power to bring to the fray. The military base has four medium mechs at my disposal. If the need is deemed warranted, I will not be reprimanded for their use. If a major furball ensues, I can call down a lance of heavy and assault mechs from an orbiting battleship. To do so would imply that I’ve lost control of the planet, which would mean the end of my career and life, most likely.
Highlanders
There’s an old-timer in a nursing home that used to be a tech during the war days. He’s got insight into the stuff our people are hauling back from the Dead Zones. Our mission is to glean as much information from him as possible, download the data and then escape. His life is expendable after we retrieve the information. We will use this information to identify and utilize the materials we’ve salvaged to eradicate the Combine from Proserpina. To make this a viable sortie, we’ve infiltrated the city with several partisan groups in civilian vehicles as well as placed a mech in a city lake with IFF jamming equipment. The civvies will block police advancement and the mech will mask our intentions until it’s too late for the Draconis scum to react. Secondary goals? Kill as many of them as possible, but get as many of our troops out unscathed as we can. Note - The Highlanders were ran by Kenny, Terry and Nick.
Map:
The map was built in four quadrants. The NE, SE, SW quadrants featured buildings, trees and multiple ponds/lakes. The NW quadrant housed the police building, which was located at the corner of the local Draconis military complex and the crossroad of two major avenues.
Game:
Carl and I were informed by Kenny of our objectives and that we’d have to place a cordon somewhere in the city to try to find the Highlander cell(s). During this time, Terry and Nick were placing their units on the table. When Carl and I came back to the table, there were definitely military forces on the board! Due to time constraints, the pace of the game had to be accelerated. We lost the ‘search & find’ RPGish portion of the game, but we were setting up for a great war game!
Nick and Terry had set their initial forces to head directly south along the avenue, heading for the military base. They were using as much cover as possible for their infantry, but also had some light recon vehicles, a VTOL and a converted mining mech. In response, Carl and I set the task force around them. The recon vehicles went on the flanks, while the jump jet troops positioned themselves on top of buildings, flanking the street. The rest of the troops spread themselves around the rebel scum. I sent in the call to the base and the mechs were prepped for the next turn.
Turn 1
The action was hot and furious the first round. We won the initiative (the game’s ‘you go, I go’) and were able to take out the VTOL. We didn’t discover until later that the VTOL was the Highlander commander’s vehicle and we’d scored a victory in bringing it down quickly. Several of the smaller units on both sides jockeyed for firing positions. The converted mech started taking fire immediately, but continued to plug along. Note - The civvie traffic was controlled by the Highlanders, making it nigh impossible to distinguish partisans from innocents.
Turn 2
Casualties began to mount in the smaller units. We lost a recon vehicle and a power armored unit, but our jump-capable troops were proving elusive. The Highlanders continued to slowly advance into the intersection. They, coupled with the civilian vehicles in the area, were slowly closing off cross fire points from the Combine forces. In addition, four heavy tanks and four light mechs could be seen coming down the avenue heading east, yet the IFF scanner remained strangely quiet. I, hunkered in the bunker basement of the police building, began to wonder why I didn’t see this coming. The thought was accentuated when one of the newly arrived Highlander units put a very large laser blast through the building, creating an awful mess of steel, glass and debris. The Draconis mechs, now on top of or around buildings, began raining fire on their enemies. The mining mech took heaps of damage, but refused to fall.
Turn 3
An enemy is exposed! The jamming mech reared its ugly head from the lake and attacked the adjacent recon vehicles! Suddenly my IFF register went haywire. There were Highlanders everywhere! I was sorely tempted to call in the orbital lance, but stayed the command. Our medium mechs were relatively unscathed and should be more than able to handle the threats against them. In the meantime, the recon force continued to bleed units, but their diligence was paying off. Highlander units were dying as well. The mining mech took another volley from various sources, but refused to die. The heavy tanks were injured, but began linking fire on the Draconis mechs. It was getting hot and ugly in the city! Unbeknownst to the Combine players, the guerillas were executing their plan to perfection. The high level of ‘civilian’ vehicles on the street ran an effective screen for the true purpose of the attack. The Highlanders were able to locate their target, gain the intel they needed and eliminated the witnesses. It almost seemed too easy.
Turn 4
A sudden withdrawal by the rebels was the first clue to me that something larger was afoot. Sure, the guerillas had taken losses, but not so severe that it would warrant a retreat. My forces manage to disable or destroy two heavy tanks and several smaller units, but a large majority of the Highlanders were still deadly. As they slunk behind buildings and through the trees, I pondered whether I should pursue. I decided against doing so (it was late in the evening). The remainders of the Highlanders were able to get off the map.
Ending:
Each side was victorious for achieving their goals. The Combine only had one civilian casualty and ‘saved face’ by truly needing the medium mechs. They also uncovered that there was a large Highlander rebellion in process. They were also able to kill the rebel leader. It wasn’t clear why there was an attack until a report was logged that the insurgents had killed an old technician soldier after some sort of interrogation. An inkling as to why they wanted said information tickled the back of the commander’s mind.
The Highlanders had a successful mission as well. They got their intel. They lost the sortie’s leader, but leaders can be replaced. They lost some light vehicles and soldiers, but deaths for the Cause against superior forces are expected. Their plan for using civilian vehicles as blockers was very effective. Soon they will be ready to take the fight to the oppressors en masse.
We discussed the nuances of the game afterwards. I wished there was more time to unfold the plot, but there wasn’t. I told Kenny that Draconis policy would be a total martial law lockdown. Any civvies ‘hanging out’ would be shot on sight, thus eliminating the possibility of innocent casualties. Who knows where the story will go, but it’ll be fun getting there!
ED: Ted,
Thank you very much for the text of the story. Your energy and fun in the game comes through and your contribution to the Penny Whistle is very highly regarded.
Ken